

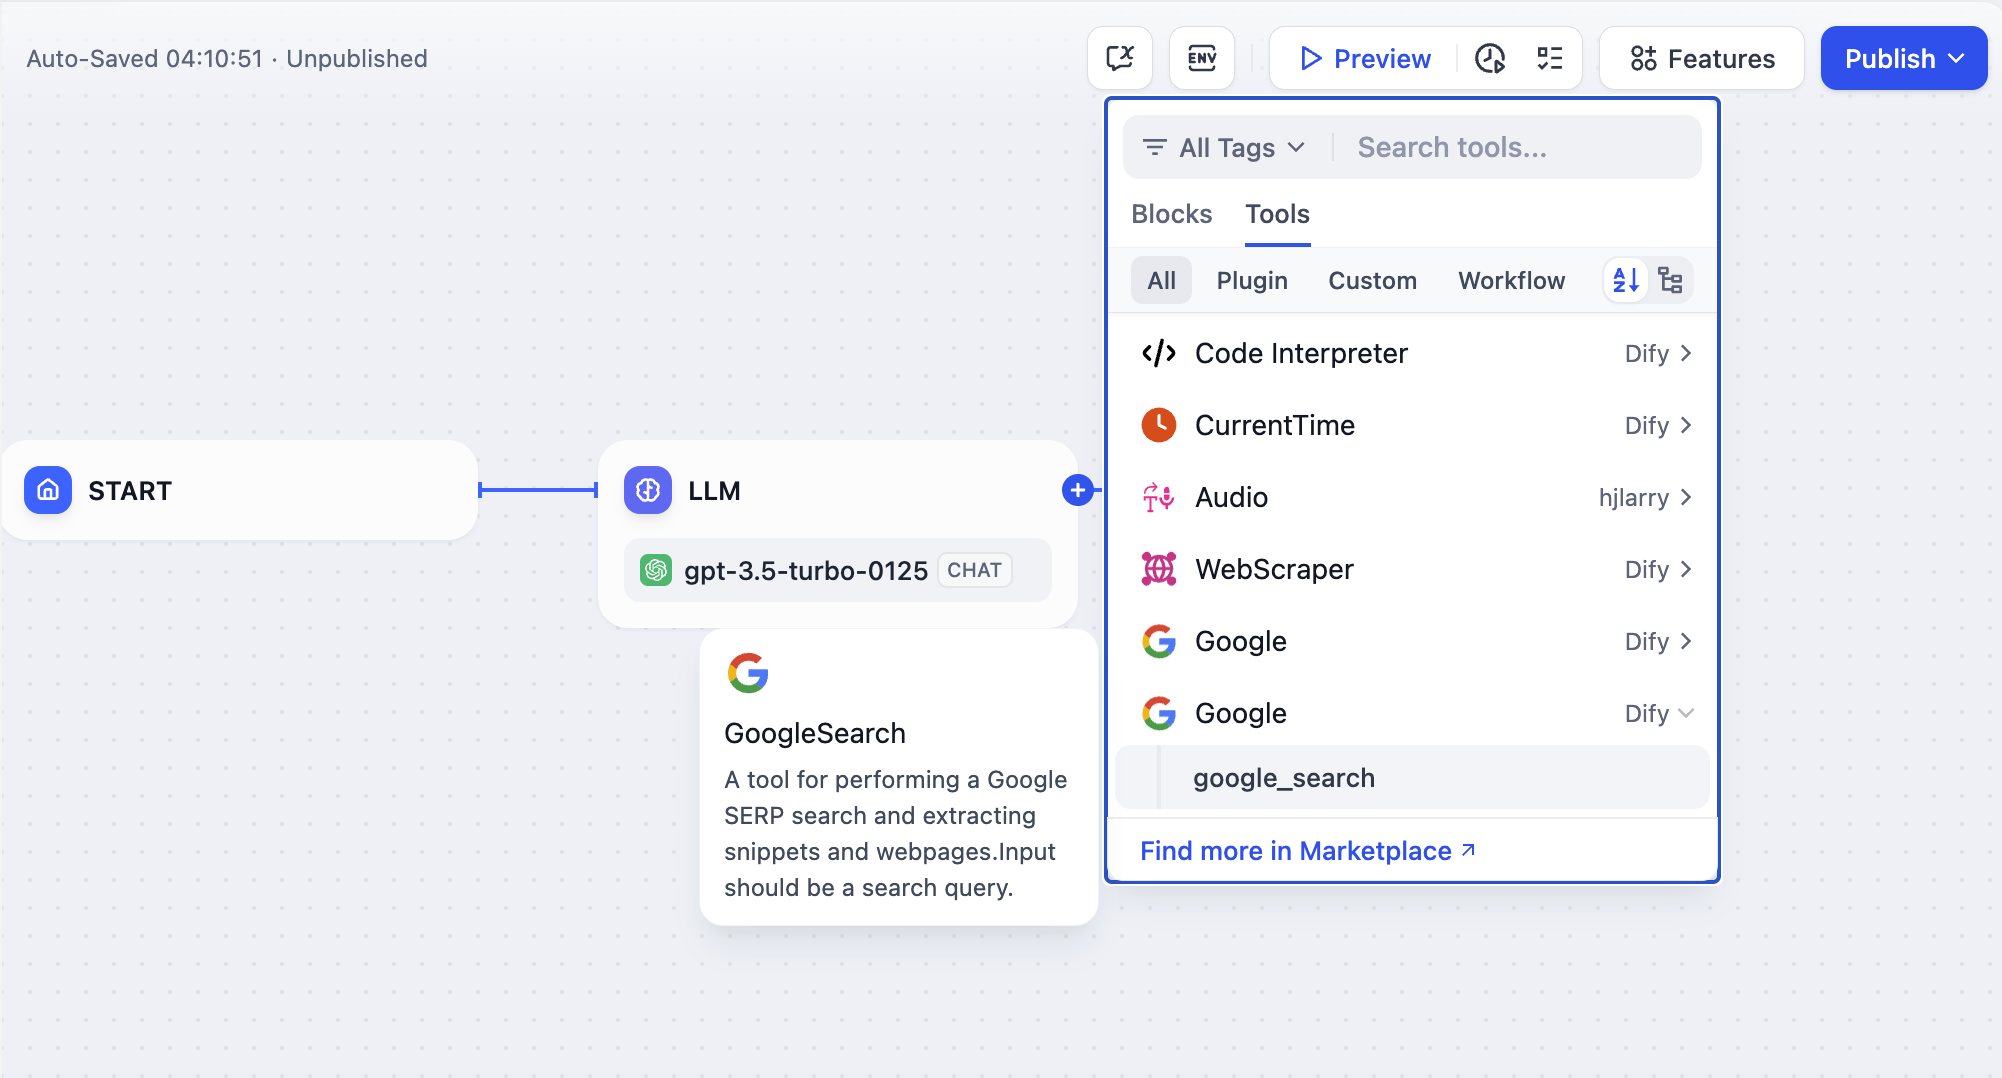
 In this article, “Tool Plugin” refers to a complete project that includes tool provider files, functional code, and other structures. A tool provider can include multiple Tools (which can be understood as additional features provided within a single tool), structured as follows:
 This article will use
 Google Search as an example to demonstrate how to quickly develop a tool plugin.
Prerequisites
- Dify plugin scaffolding tool
- Python environment, version ≥ 3.12
Creating a New Project
Run the scaffolding command line tool to create a new Dify plugin project.dify and copied it to the /usr/local/bin path, you can run the following command to create a new plugin project:
In the following text,difywill be used as a command line example. If you encounter any issues, please replace thedifycommand with the path to the command line tool.
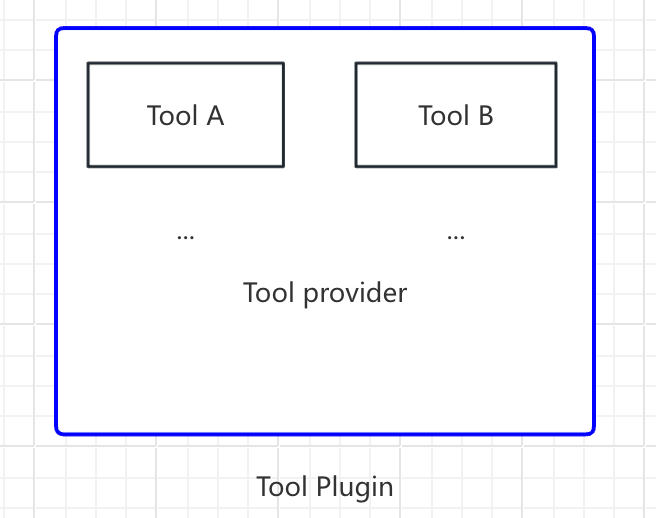
Choosing Plugin Type and Template
All templates in the scaffolding tool provide complete code projects. In this example, select theTool plugin.
If you are already familiar with plugin development and do not need to rely on templates, you can refer to the General Specifications guide to complete the development of different types of plugins.
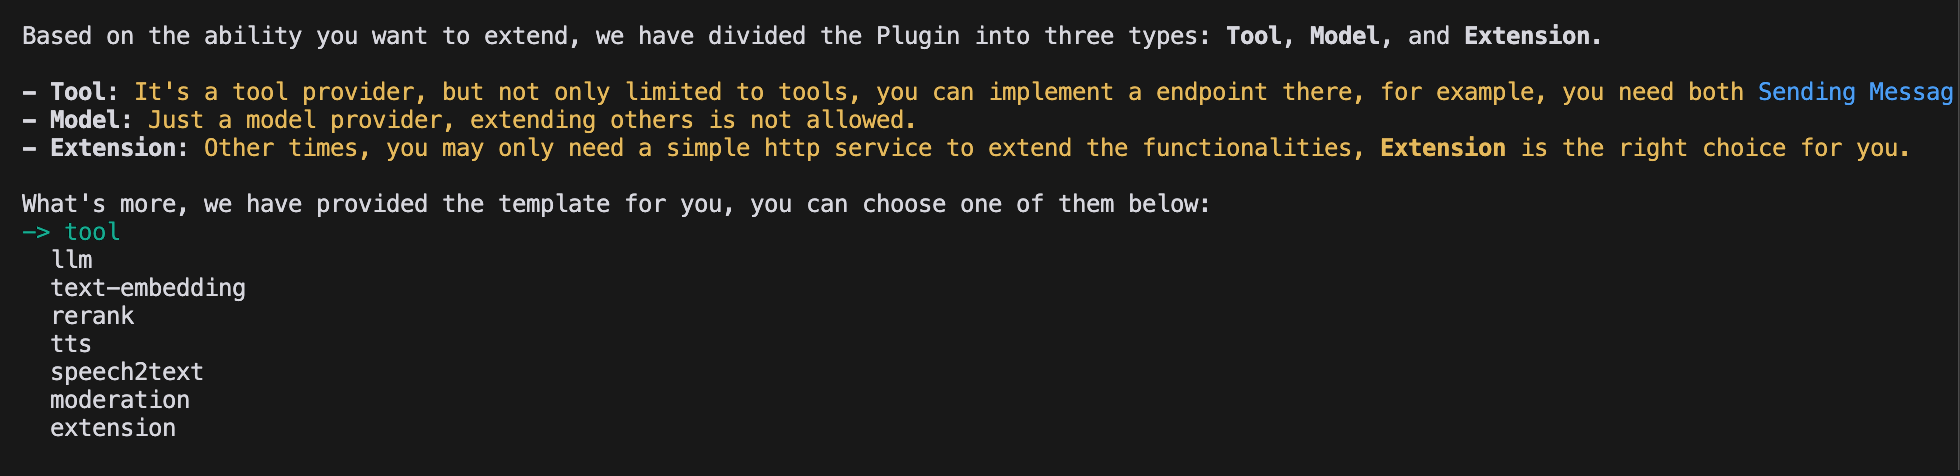
Configuring Plugin Permissions
The plugin also needs permissions to read from the Dify platform. Grant the following permissions to this example plugin:- Tools
- Apps
- Enable persistent storage Storage, allocate default size storage
- Allow registering Endpoints
Use the arrow keys in the terminal to select permissions, and use the “Tab” button to grant permissions.After checking all permission items, press Enter to complete the plugin creation. The system will automatically generate the plugin project code.
Developing the Tool Plugin
1. Creating the Tool Provider File
The tool provider file is a yaml format file, which can be understood as the basic configuration entry for the tool plugin, used to provide necessary authorization information to the tool. Go to the/provider path in the plugin template project and rename the yaml file to google.yaml. This yaml file will contain information about the tool provider, including the provider’s name, icon, author, and other details. This information will be displayed when installing the plugin.
Example Code
/tools directory, with the complete path as follows:
google.yaml needs to use its absolute path in the plugin project. In this example, it is located in the project root directory. The identity field in the YAML file is explained as follows: identity contains basic information about the tool provider, including author, name, label, description, icon, etc.
- The icon needs to be an attachment resource and needs to be placed in the
_assetsfolder in the project root directory. - Tags can help users quickly find plugins through categories. Below are all the currently supported tags.
2. Completing Third-Party Service Credentials
For development convenience, we choose to use the Google Search API provided by the third-party serviceSerpApi. SerpApi requires an API Key for use, so we need to add the credentials_for_provider field in the yaml file.
The complete code is as follows:
- The sub-level structure of
credentials_for_providerneeds to meet the requirements of General Specifications. - You need to specify which tools the provider includes. This example only includes one
tools/google_search.yamlfile. - As a provider, in addition to defining its basic information, you also need to implement some of its code logic, so you need to specify its implementation logic. In this example, we put the code file for the functionality in
google.py, but we won’t implement it yet, but instead write the code forgoogle_searchfirst.
3. Filling in the Tool YAML File
A tool plugin can have multiple tool functions, and each tool function needs ayaml file for description, including basic information about the tool function, parameters, output, etc.
Still using the GoogleSearch tool as an example, create a new google_search.yaml file in the /tools folder.
identitycontains basic information about the tool, including name, author, label, description, etc.parametersparameter listname(required) parameter name, unique, cannot have the same name as other parameters.type(required) parameter type, currently supportsstring,number,boolean,select,secret-inputfive types, corresponding to string, number, boolean, dropdown, encrypted input box. For sensitive information, please use thesecret-inputtype.label(required) parameter label, for frontend display.form(required) form type, currently supportsllm,formtwo types.- In Agent applications,
llmmeans that the parameter is inferred by the LLM itself,formmeans that parameters can be preset in advance to use this tool. - In Workflow applications, both
llmandformneed to be filled in by the frontend, butllmparameters will be used as input variables for the tool node.
- In Agent applications,
requiredwhether required- In
llmmode, if the parameter is required, the Agent will be required to infer this parameter. - In
formmode, if the parameter is required, the user will be required to fill in this parameter on the frontend before the conversation begins.
- In
optionsparameter options- In
llmmode, Dify will pass all options to the LLM, and the LLM can infer based on these options. - In
formmode, whentypeisselect, the frontend will display these options.
- In
defaultdefault value.minminimum value, can be set when the parameter type isnumber.maxmaximum value, can be set when the parameter type isnumber.human_descriptionintroduction for frontend display, supports multiple languages.placeholderprompt text for the input field, can be set when the form type isformand the parameter type isstring,number,secret-input, supports multiple languages.llm_descriptionintroduction passed to the LLM. To make the LLM better understand this parameter, please write as detailed information as possible about this parameter here, so that the LLM can understand the parameter.
4. Preparing Tool Code
After filling in the configuration information for the tool, you can start writing the code for the tool’s functionality, implementing the logical purpose of the tool. Creategoogle_search.py in the /tools directory with the following content:
serpapi and using self.create_json_message to return a formatted json data string. If you want to learn more about return data types, you can refer to the Remote Debugging Plugins and Persistent Storage KV documents.
4. Completing the Tool Provider Code
Finally, you need to create an implementation code for the provider to implement the credential validation logic. If credential validation fails, aToolProviderCredentialValidationError exception will be thrown. After validation succeeds, the google_search tool service will be correctly requested.
Create a google.py file in the /provider directory with the following content:
Debugging the Plugin
After completing plugin development, you need to test whether the plugin can function properly. Dify provides a convenient remote debugging method to help you quickly verify the plugin’s functionality in a test environment. Go to the “Plugin Management” page to obtain the remote server address and debugging Key.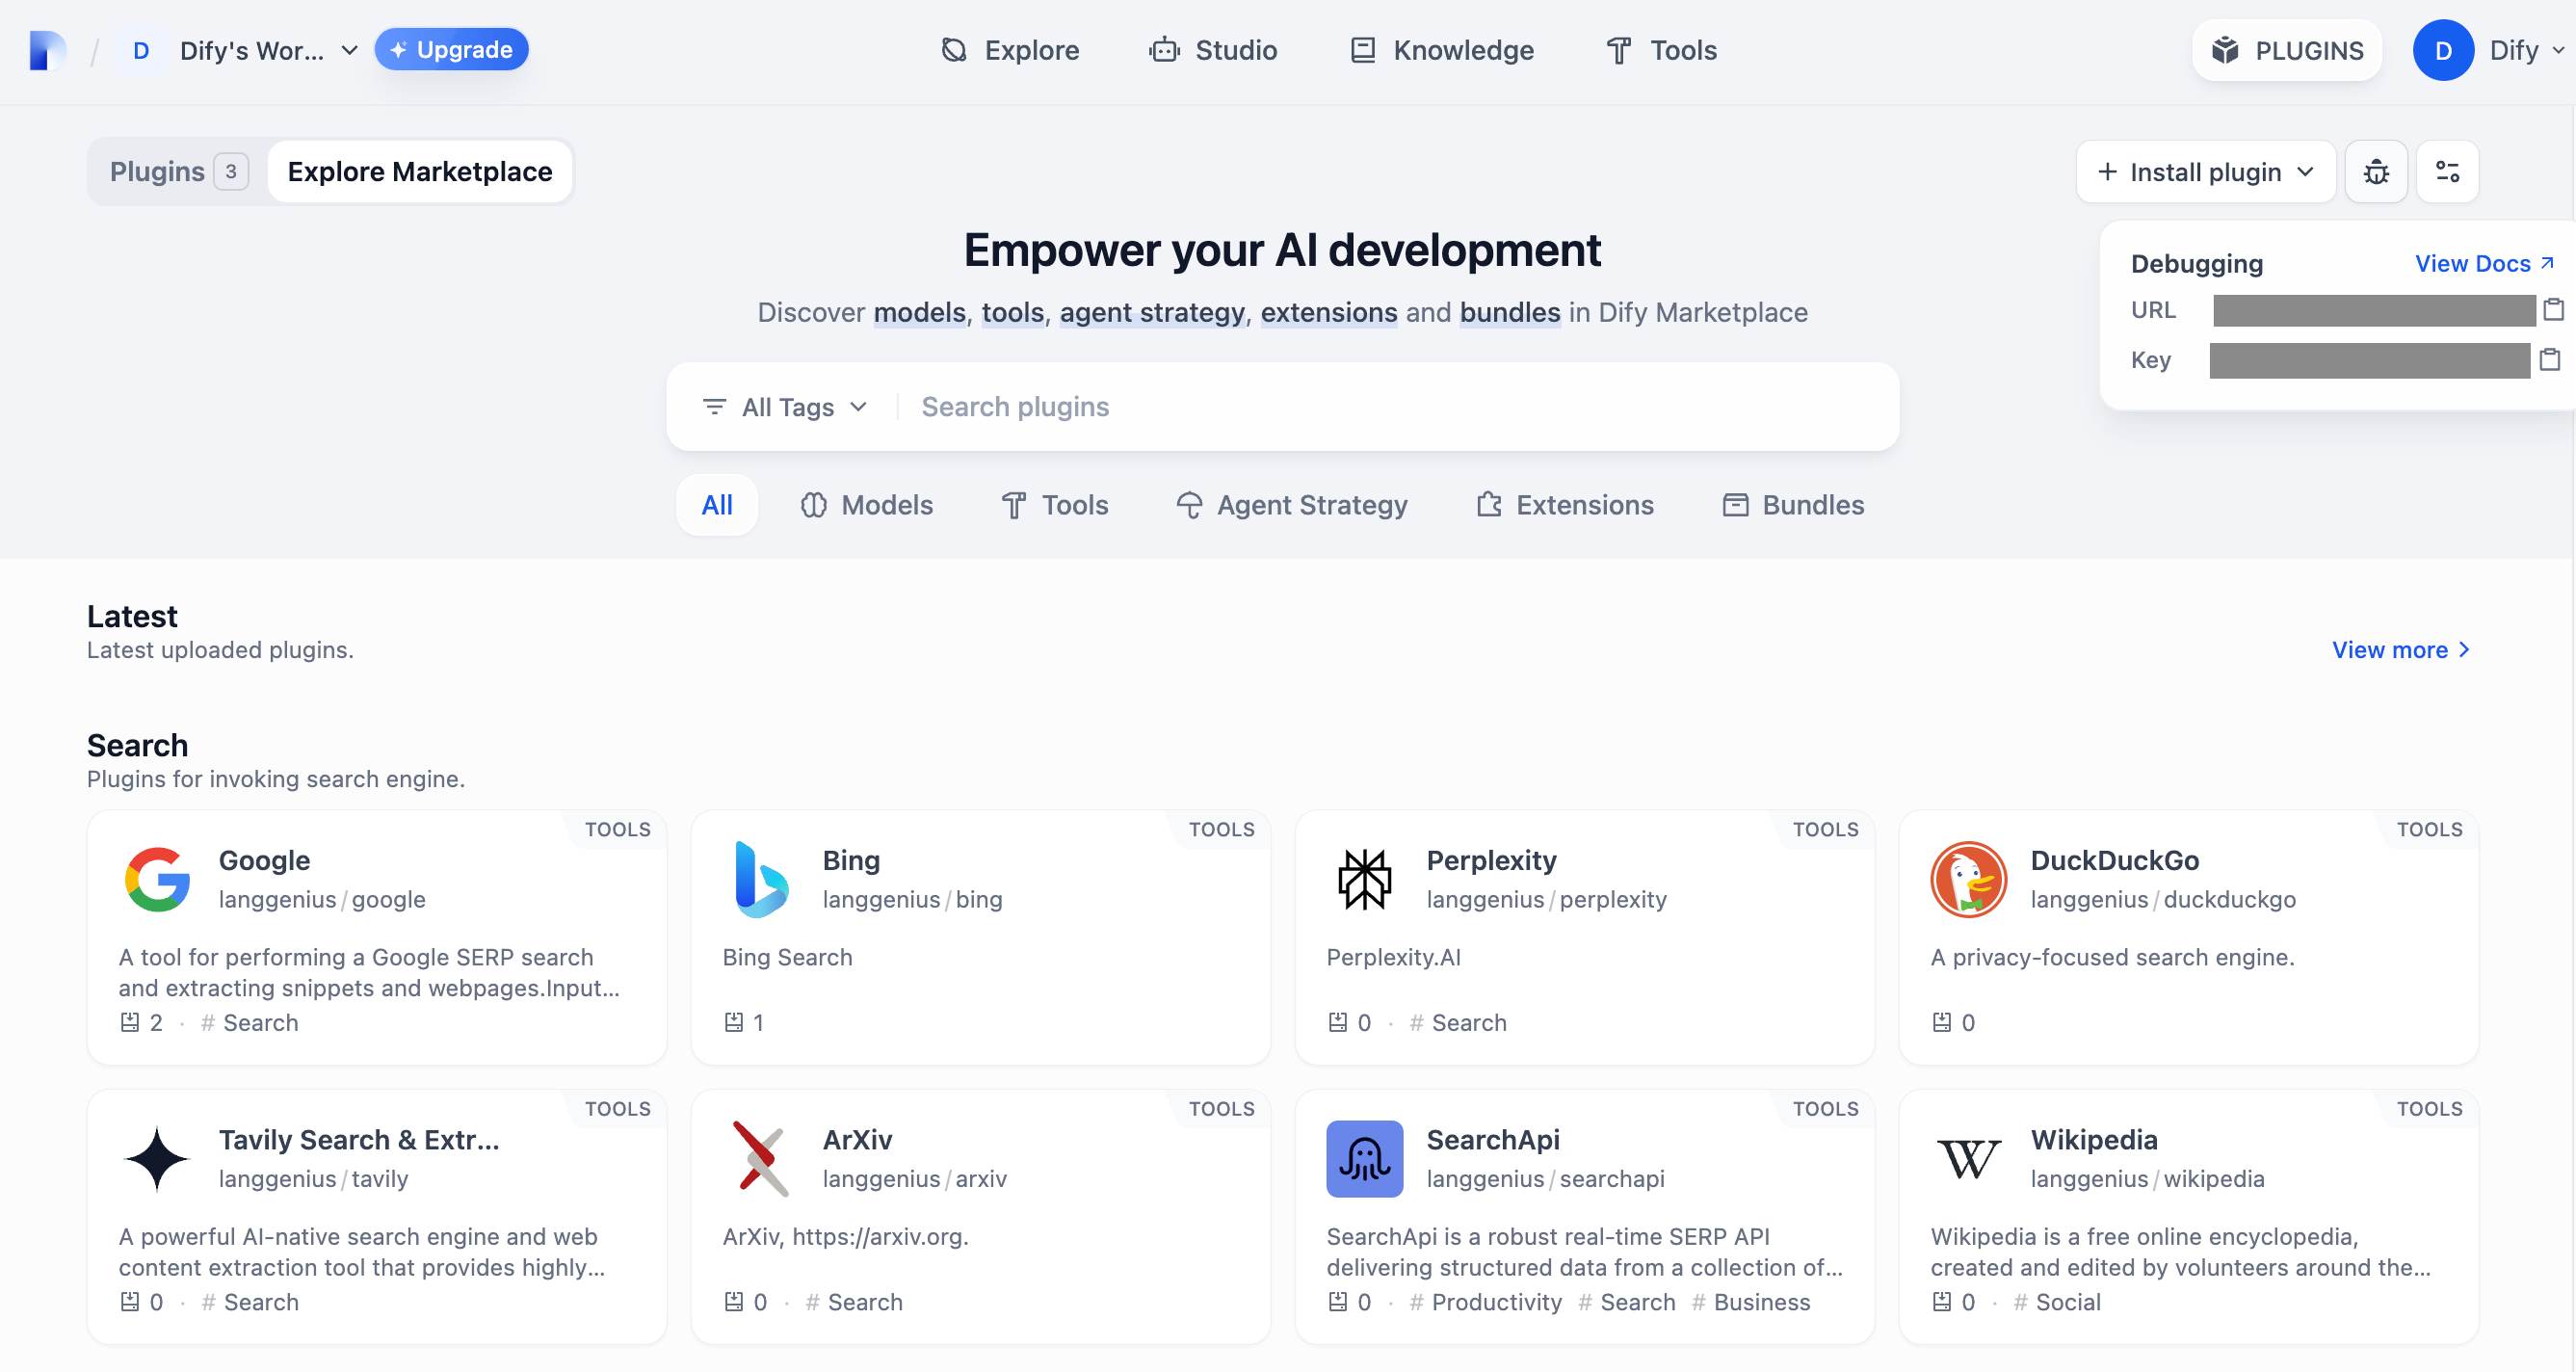 Return to the plugin project, copy the
 .env.example file and rename it to .env, then fill in the remote server address and debugging Key information you obtained.
.env file:
python -m main command to start the plugin. On the plugins page, you can see that the plugin has been installed in the Workspace, and other members of the team can also access the plugin.

Packaging the Plugin (Optional)
After confirming that the plugin can run normally, you can package and name the plugin using the following command line tool. After running, you will discover agoogle.difypkg file in the current folder, which is the final plugin package.
Publishing the Plugin (Optional)
If you want to publish the plugin to the Dify Marketplace, please ensure that your plugin follows the specifications in Publish to Dify Marketplace. After passing the review, the code will be merged into the main branch and automatically launched to the Dify Marketplace. Publishing OverviewExplore More
Quick Start:
Plugin Interface Documentation:
- General Specifications - Manifest Structure and Tool Specifications
- Endpoint - Detailed Endpoint Definition
- Reverse Invocation - Reverse Invocation of Dify Capabilities
- Model Schema - Models
- Agent Plugins - Extending Agent Strategies
Next Learning Steps
- Remote Debugging Plugins - Learn more advanced debugging techniques
- Persistent Storage - Learn how to use data storage in plugins
- Slack Bot Plugin Development Example - View a more complex plugin development case
- Tool Plugin - Explore advanced features of tool plugins
Edit this page | Report an issue