Access Data Source Authorization
In Dify, you can access data source authorization through the following two methods:I. Knowledge Pipeline Orchestration
When orchestrating a knowledge pipeline, select the data source node that requires authorization. Click Connect on the right panel.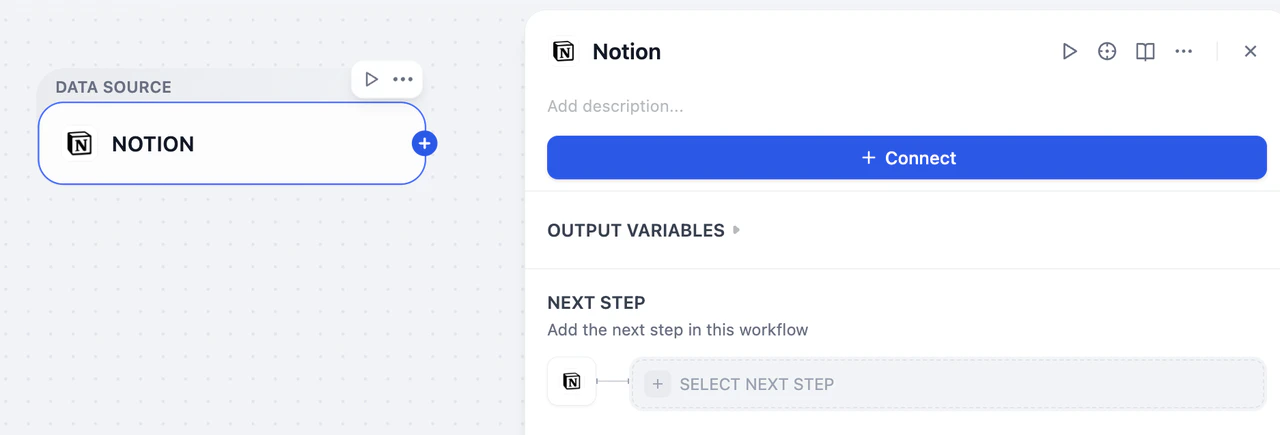
II. Settings
Click your avatar in the upper right corner and select Settings. Navigate to Data Sources and find the data source you wish to authorize.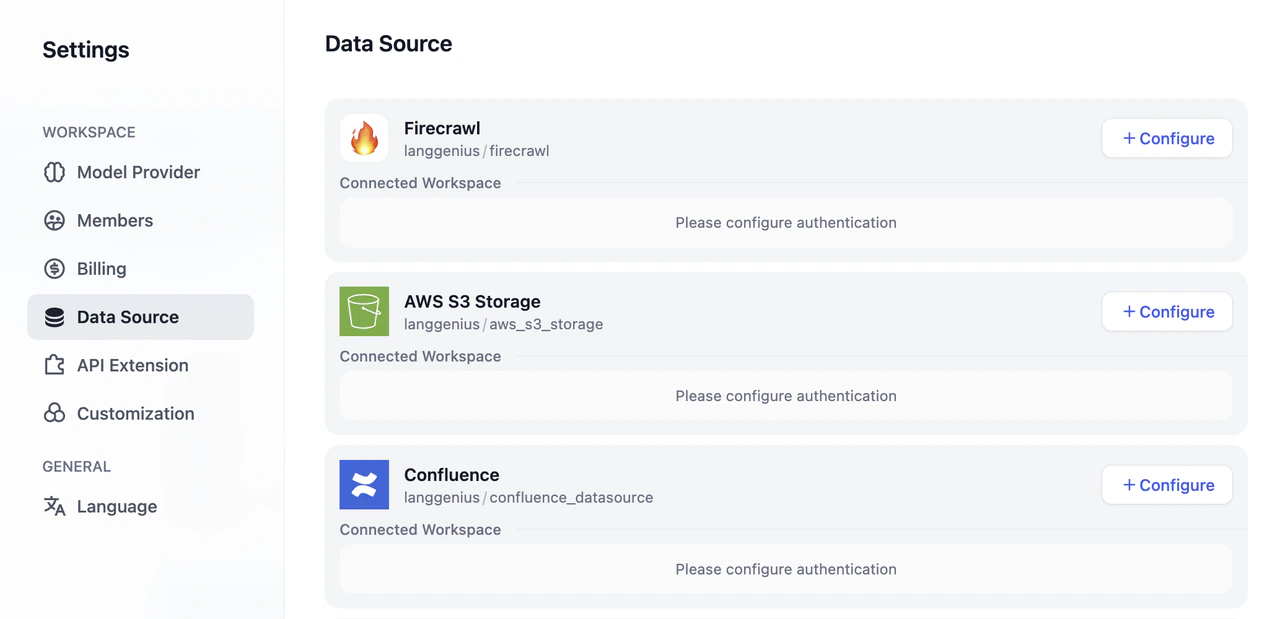
Supported Data Source Authorization
| Data Source | API Key | OAuth |
|---|---|---|
| Notion | ✅ | ✅ |
| Jina Reader | ✅ | |
| Firecrawl | ✅ | |
| Google Drive | ✅ | |
| Dropbox | ✅ | |
| OneDrive | ✅ |
Authorization Processes
API Key Authorization
API Key authorization is a key-based authentication method suitable for enterprise-level services and developer tools. You need to generate API Keys from the corresponding service providers and configure them in Dify.Process
-
On the Data Source page, navigate to the corresponding data source. Click Configure and then Add API Key.

-
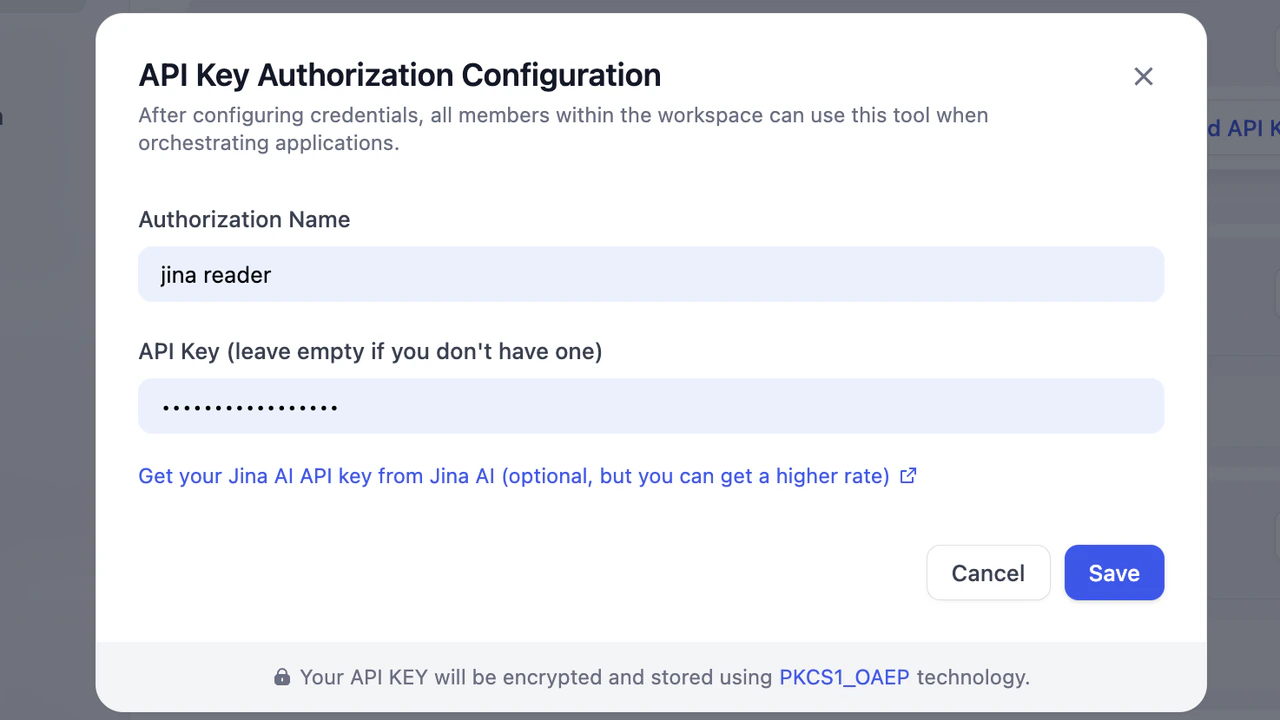
In the pop-up window, fill in the Authorization Name and API Key. Click Save to complete the setup.

OAuth Authorization
OAuth is an open standard authorization protocol that allows users to authorize third-party applications to access their resources on specific service providers without exposing passwords.Process
-
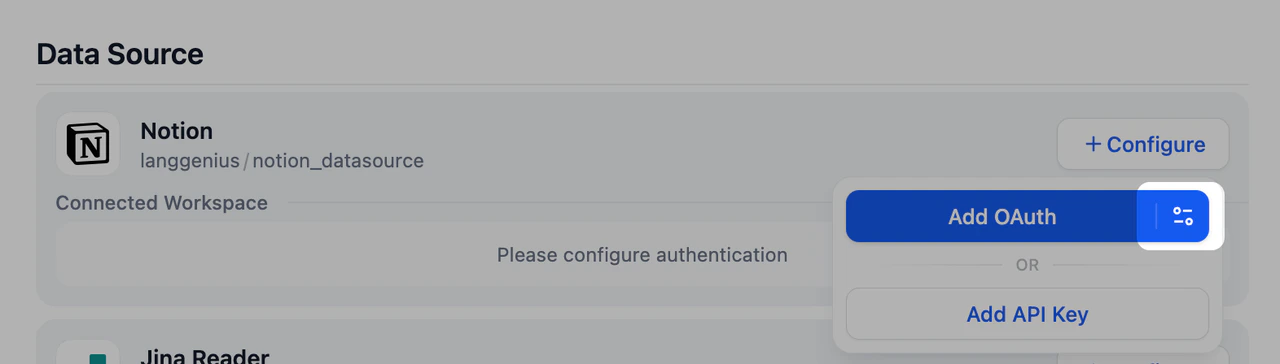
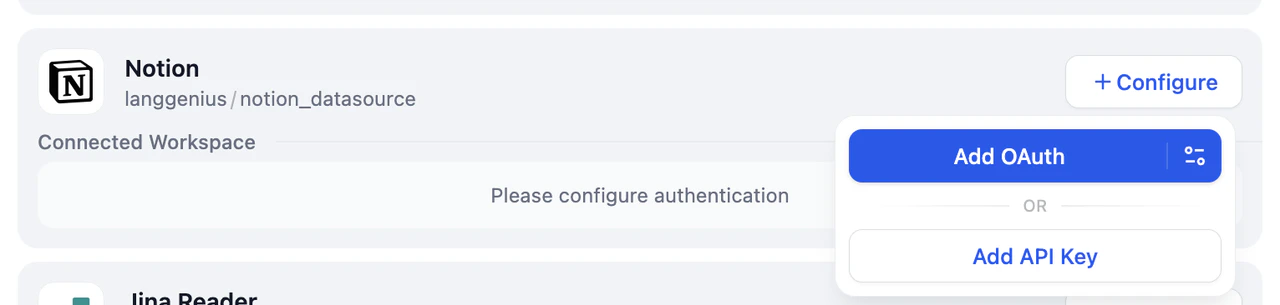
On the Data Source page, select an OAuth-supported data source. Click Configure and then Add OAuth.
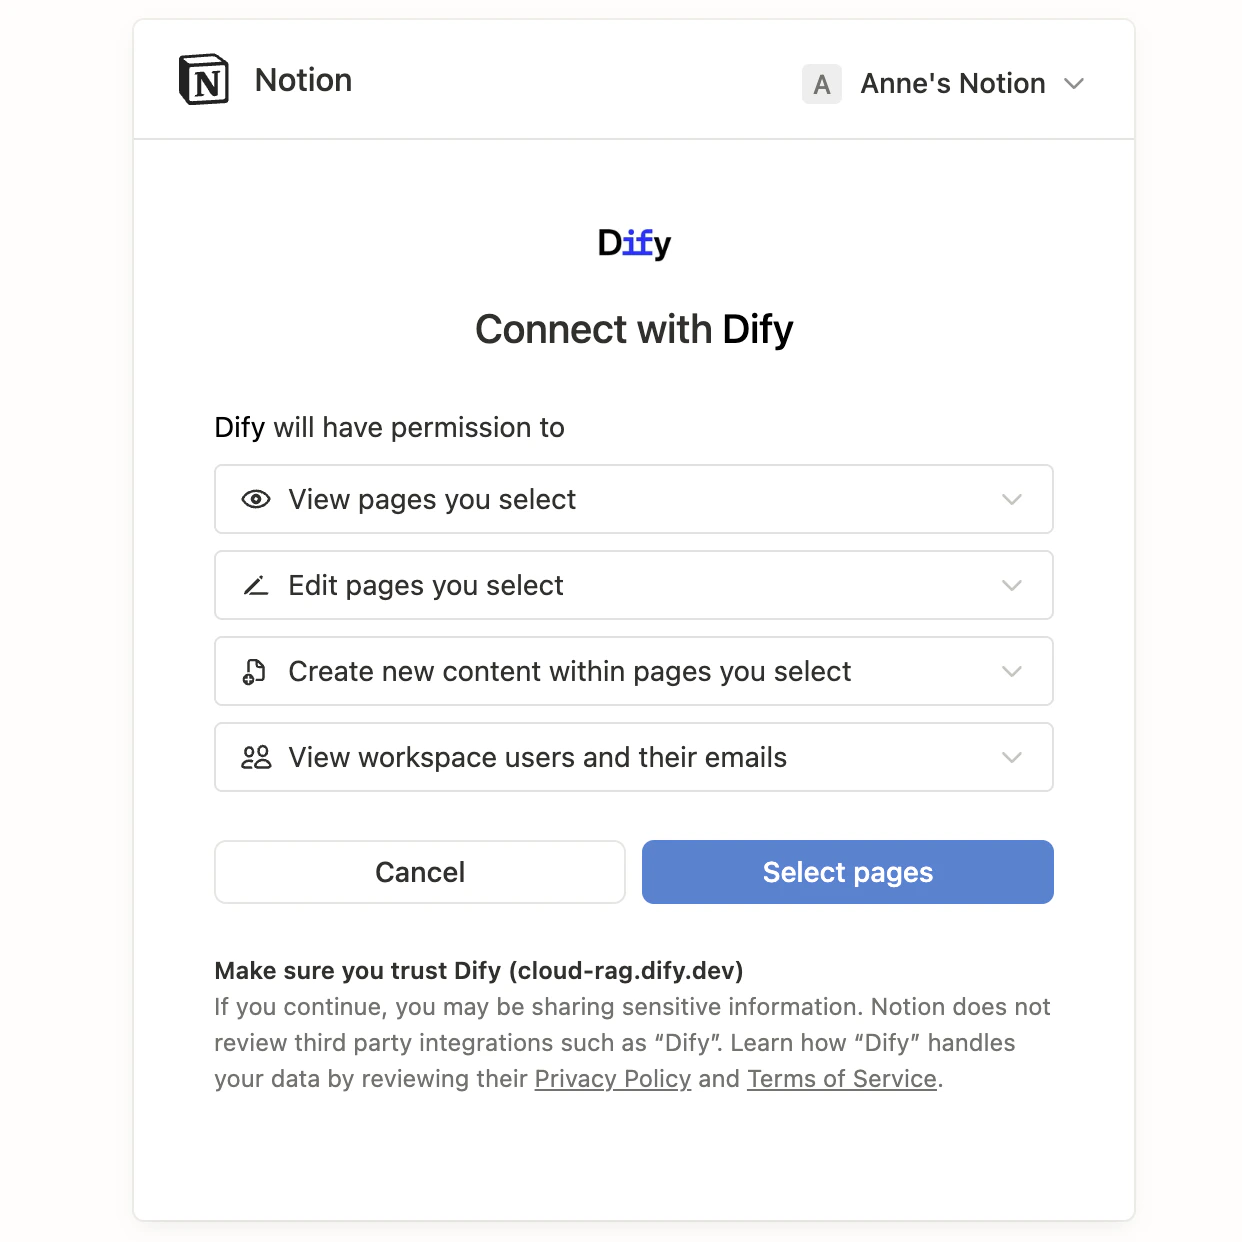
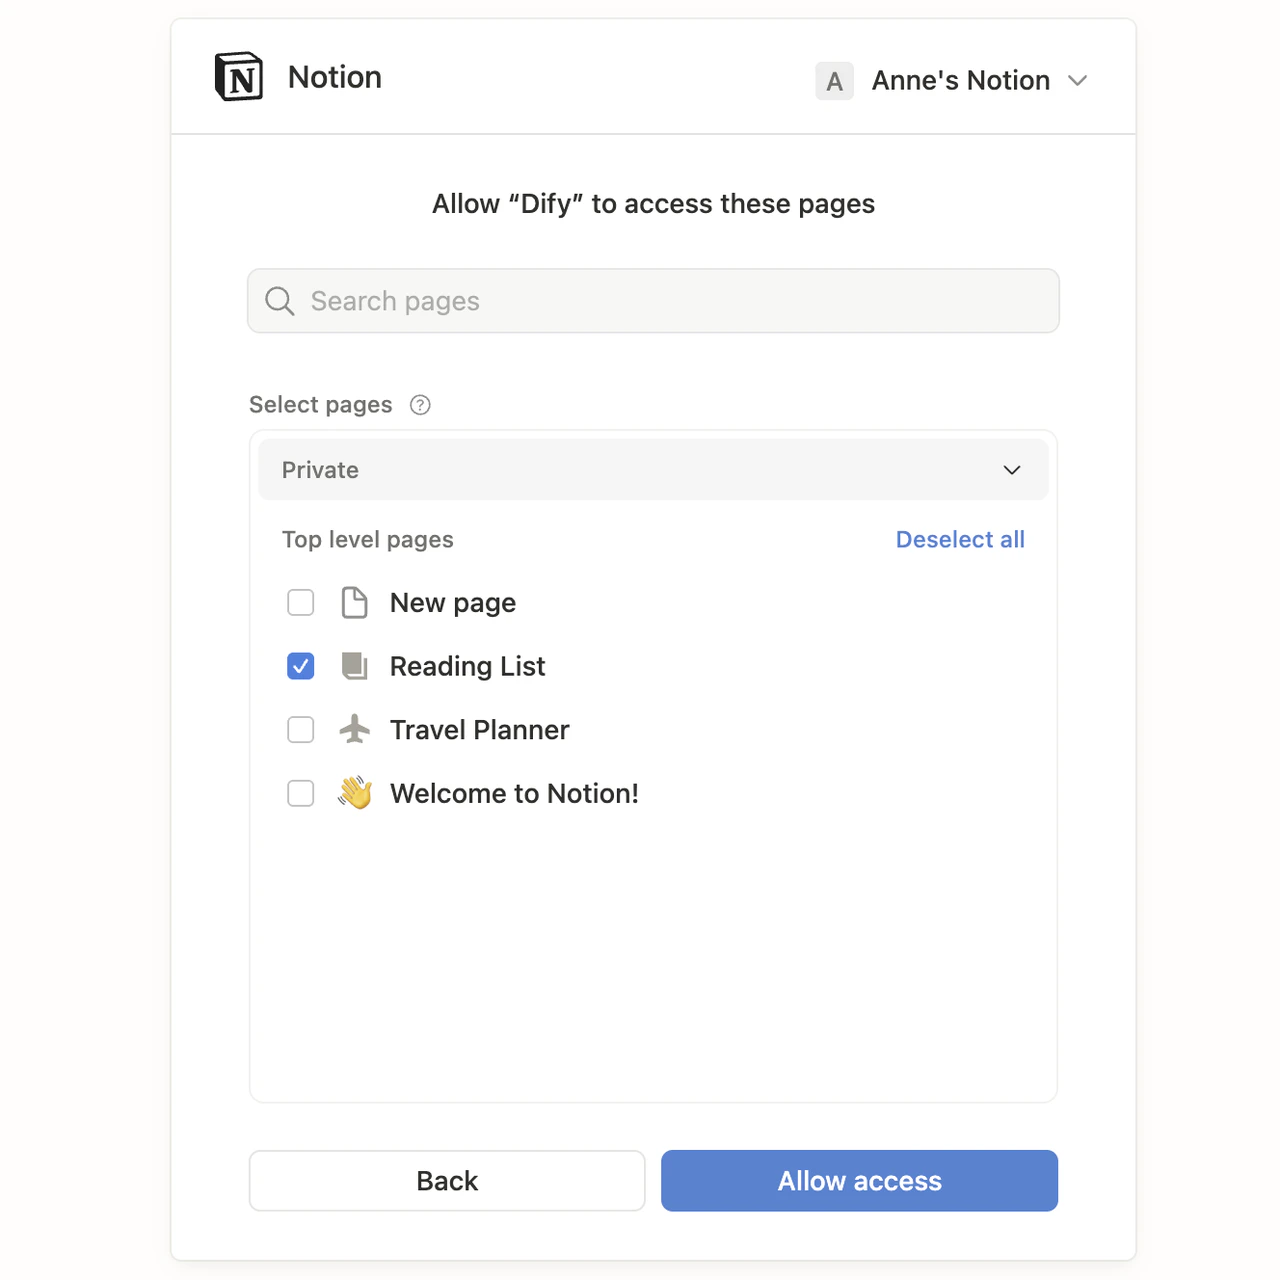
- Review the permission scope and click Allow Access.
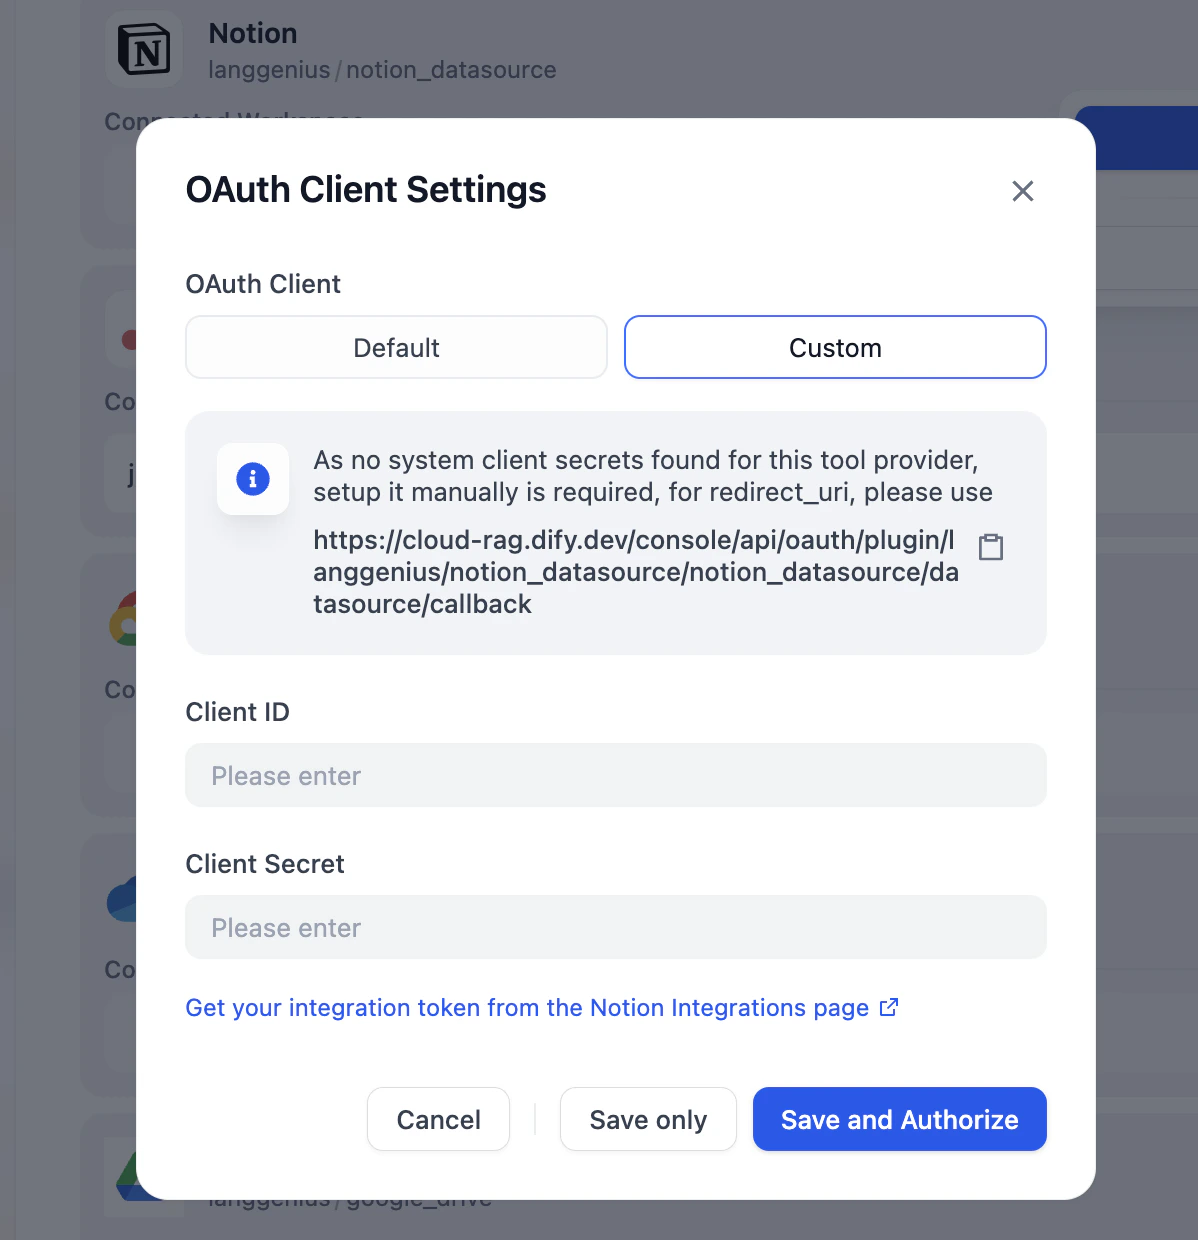
OAuth Client Settings
Dify provides two OAuth client configuration methods: Default and Custom.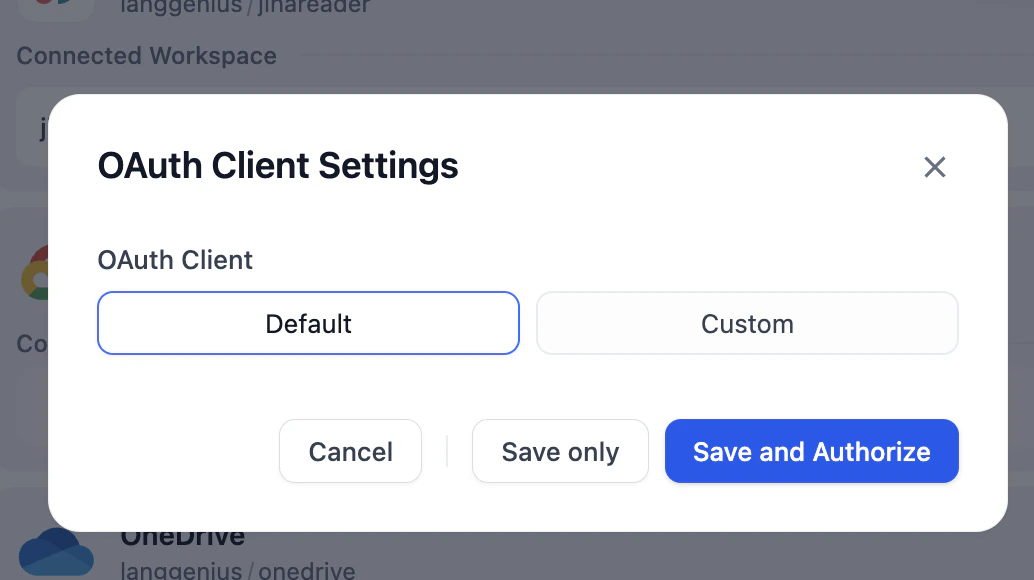
- Default
- Custom
The default client uses OAuth parameters that Dify pre-configures and maintains, so you can add credentials in one click without any extra setup.